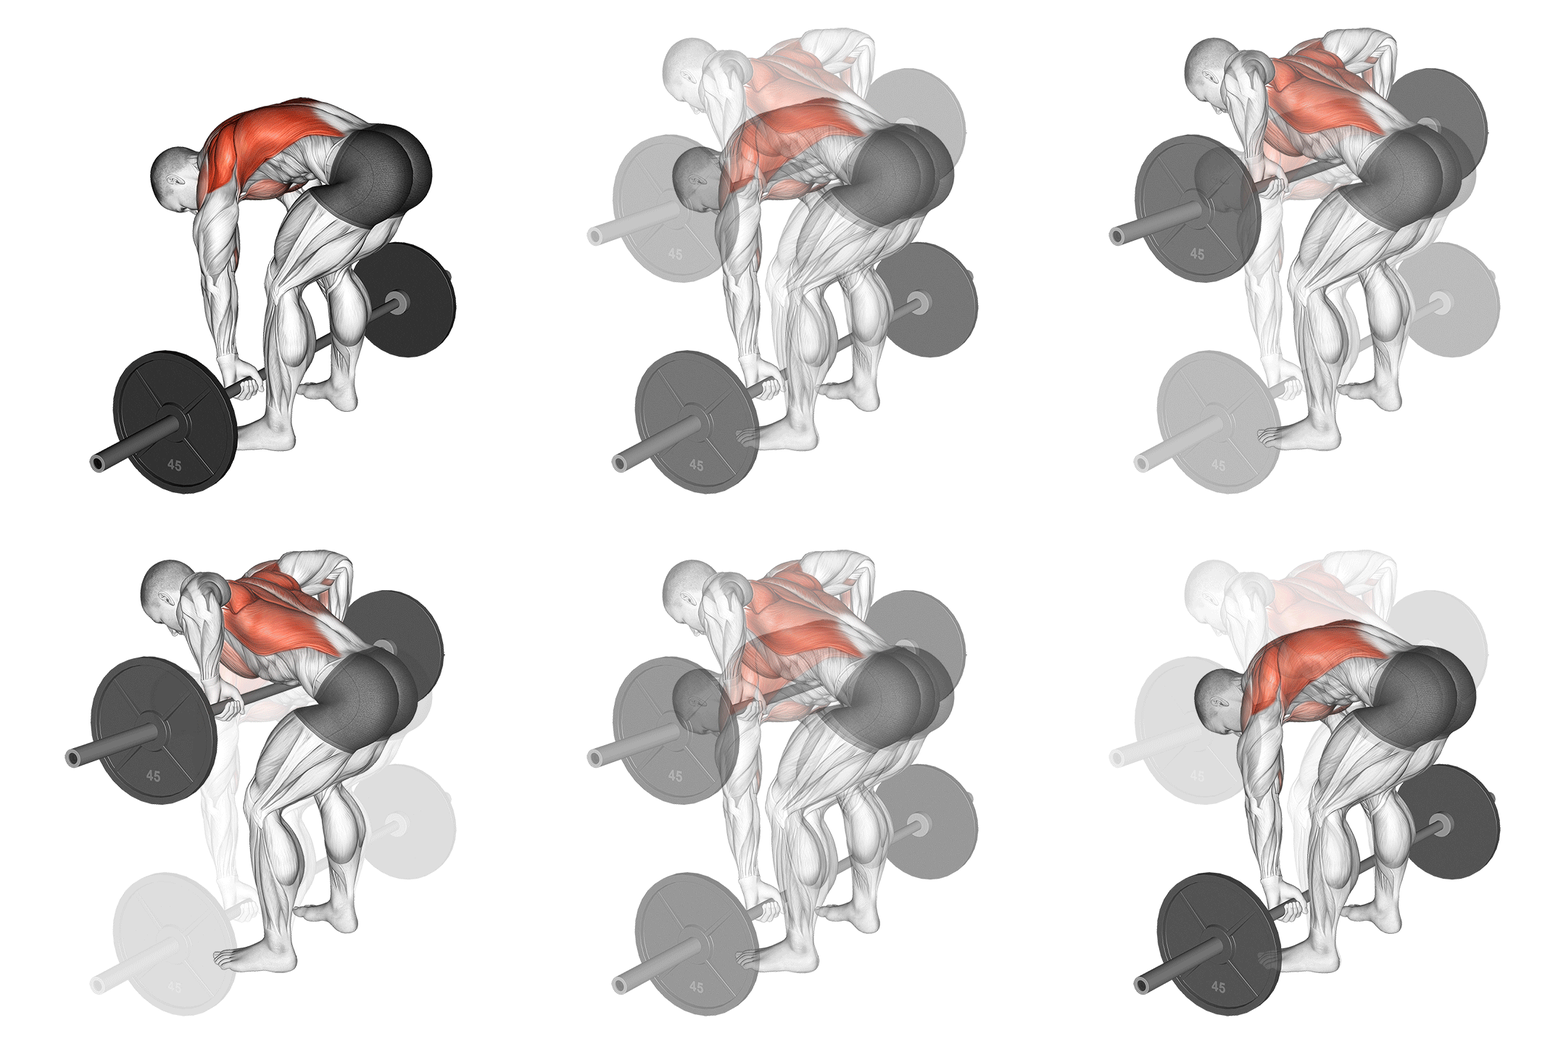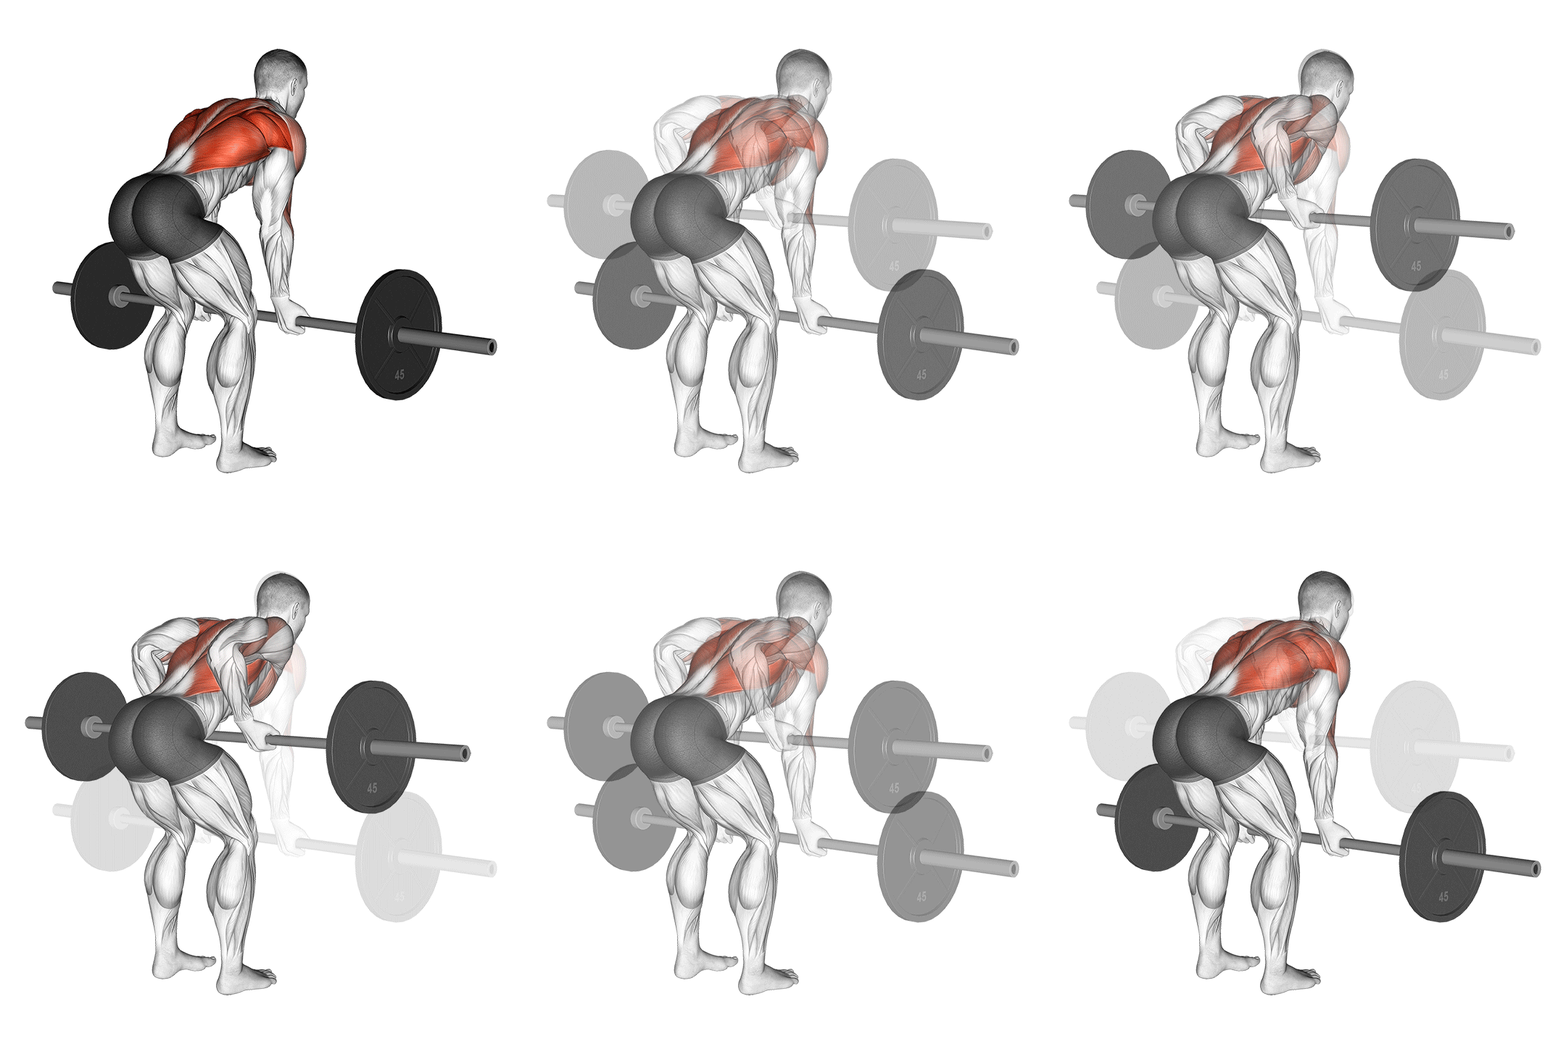
What is the reverse-grip barbell row?
The reverse-grip barbell row is a bent-over row taken with the palms facing forward. Supinating the grip tucks the elbows against your sides and drags the pulling line down toward the hips: the lats, especially their lower fibers, and the biceps carry more of the load, where the overhand version spreads the work across the upper back and rear delts. The underhand setup also lets most lifters stay slightly more upright and move more weight. Pick it when rows feel like all traps and no lats, or as a heavy biceps builder; just respect the biceps tendon and leave the jerky cheat reps alone.
How to do the reverse-grip barbell row
- 1
Set the hinge
Take an underhand grip at shoulder width, soften the knees, and push the hips back until your torso sits between 30 and 45 degrees above horizontal, bar hanging under the shoulders, back flat.
- 2
Load the lats before you pull
Brace your trunk, then pull the slack out of your arms by drawing the shoulders away from your ears and squeezing the armpits tight. The first centimeter of every rep should feel like back, not biceps.
- 3
Row to your belt line
Drive the elbows back past your ribs and let the bar graze up your thighs until it touches just below the navel. The low touch point is what points the tension at the lats.
- 4
Lower on rails
Resist the bar back down to straight arms and a full lat stretch without the torso creeping upward. The hinge angle you started with is the one you finish with.
Pro tip
Drag the bar up your thighs like it's on a zip line. The moment daylight appears between bar and body, the load swings onto your biceps and lower back. If you can't keep contact on every rep, the bar is too heavy for your back, even if your arms can still move it.
Common mistakes
Cheat-curling the weight.
With the palms up, every hip bounce turns the row into a standing curl, and the biceps tendon absorbs the jerk. If the bar accelerates off your hips to start each rep, strip plates until the back does the pulling.
Standing up as the set goes on.
The torso drifts vertical rep by rep until you're shrugging the bar, not rowing it. Pick your hinge angle before the set and treat it like a depth standard on squats: non-negotiable.
Wrists bent backward.
A supinated grip with folded wrists routes the load through the forearms and irritates the elbows. Keep the knuckles in line with the forearm, as if punching the floor.
Yanking from a slack start.
Starting each rep with loose shoulders then snapping into the pull whips the biceps at their weakest moment. Pre-tension the lats at the bottom and make the first pull smooth, not sudden.
Variations and progressions
Easier
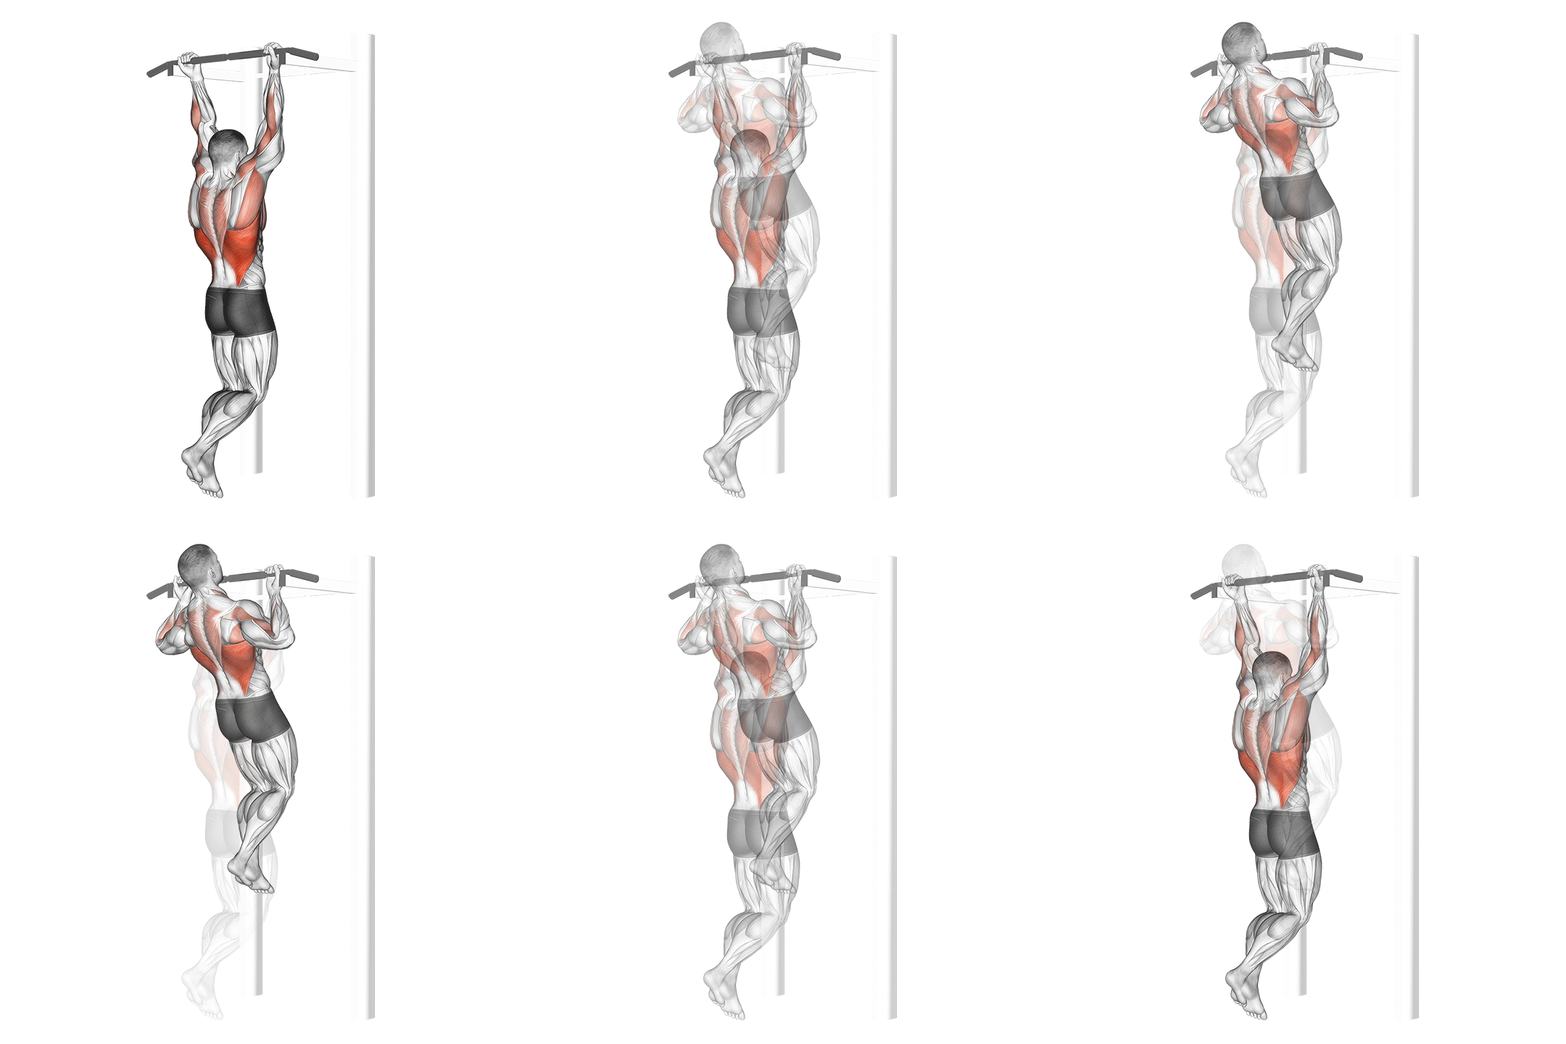
Underhand inverted row
Hang under a bar in a rack with palms up and row your bodyweight. Same elbow path and lat bias, with the floor regulating the load and zero lower-back demand.
Harder
Dead-stop reverse-grip row
Lower the bar to the floor and let it settle between every rep. Each pull starts from zero momentum, which exposes a weak first pull and removes any temptation to bounce.
Alternative
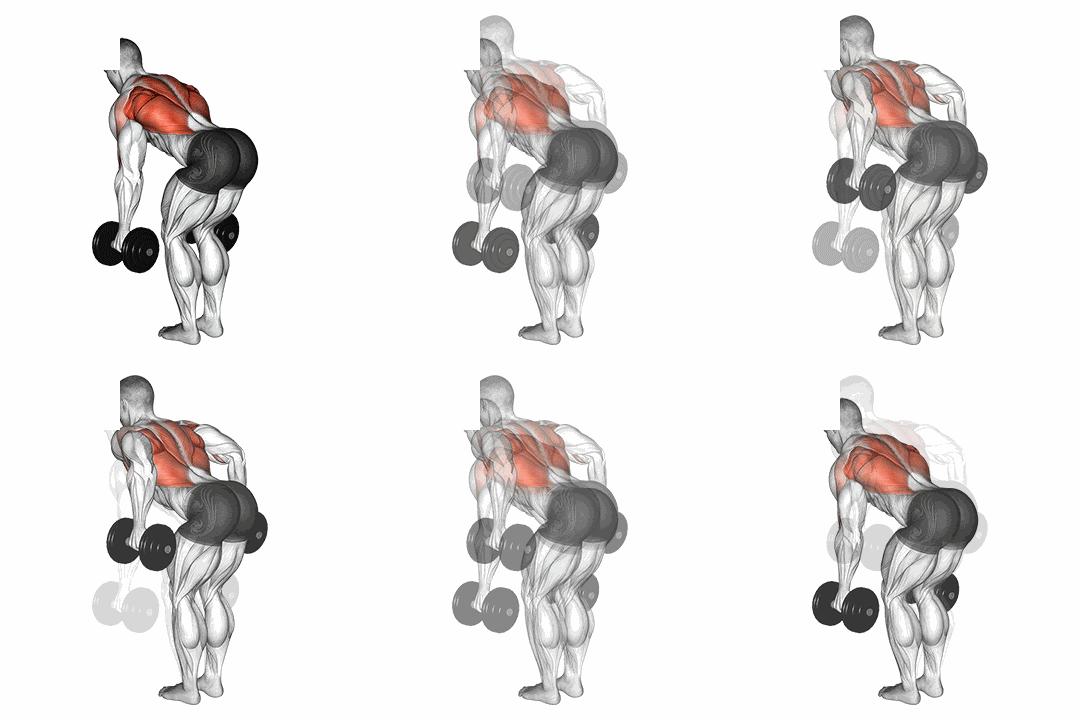
One-arm dumbbell row
A neutral grip keeps the elbow tucked and the lat loaded without full supination, and the bench support unloads the spine. The safer pick if your biceps or wrists dislike the straight bar.
How to program it
Three protocols by goal. Pick one per cycle and aim for progression on load or distance.
| Goal | Sets × distance | Load | Rest |
|---|---|---|---|
| Strength | 4 × 6 @ RPE 8 | Heavy | 2-3 min |
| Hypertrophy | 4 × 8-10 | Moderately heavy | 90 s |
| Strict volume | 3 × 12-15 with 1 s squeeze | Light-moderate | 60-90 s |
Reverse-Grip Barbell Row FAQ
Reverse grip or overhand grip for rows: which is better?
Neither wins outright; they aim at different targets. Underhand tucks the elbows and biases the lats and biceps with a lower touch point; overhand flares the elbows slightly and hits more mid-trap, rhomboid and rear delt. Most complete programs rotate both across a training year, or run one as the heavy row and the other as the volume row.
Is the reverse-grip row risky for the biceps?
The supinated grip does put the biceps in a loaded, lengthened position, so heavy jerky reps are the real hazard rather than the exercise itself. Pull smoothly from a pre-tensioned start, progress the load in small jumps, and switch to an EZ bar if full supination bothers your wrists or elbows: the slight angle takes most of the strain off.
Where should the bar touch on a reverse-grip row?
Just below the navel, around the belt line. Touching higher, toward the sternum, flares the elbows and shifts the work back to the upper back, which defeats the point of flipping your grip. If you can't reach the belt line, the weight is too heavy or the torso too vertical.
What torso angle should I row at?
Between 30 and 45 degrees above horizontal is the sweet spot for range and strictness. A more upright underhand row, often called a Yates row, lets you handle noticeably heavier weights over a shorter range; it's a legitimate variation, not a cheat, as long as you choose the angle instead of drifting into it.